
Generate barcode using contact form 7: Barcode or QR code technology has been in use for decades, and its usefulness cannot be overstated. It is an essential tool for inventory management, tracking, and even marketing. With the advent of technology, generating QR codes using Contact form 7 has become much more comfortable, and even more so with the use of Contact Form 7. In this article, we will explore how to generate barcodes using Contact Form 7, why barcodes are essential, and some of the ways you can use them.
Why Barcodes or QR codes are Important?
Barcodes or QR codes have become an essential tool for businesses and organizations around the world. They are used in a variety of ways, including tracking inventory, identifying products, and improving customer experiences. Here are some of the reasons why barcodes are so important:
- Efficiency – QR codes or Barcodes are a fast and efficient way to track inventory and products. With the use of a barcode scanner, a large number of products can be scanned quickly, making it easier to manage inventory and reduce errors.
- Accuracy – QR codes or Barcodes are very accurate, reducing the risk of errors associated with manual data entry. This means that the data obtained is more reliable, leading to better decision making.
- Cost-Effective – Using QR code or barcodes can reduce labor costs by automating data entry and inventory management. It also reduces the need for manual tracking and eliminates the possibility of human errors.
- Customizable – Barcodes can be customized to suit different needs. You can create different types of QR codes or barcodes depending on the use case, including QR codes, Code 128, and Code 39.
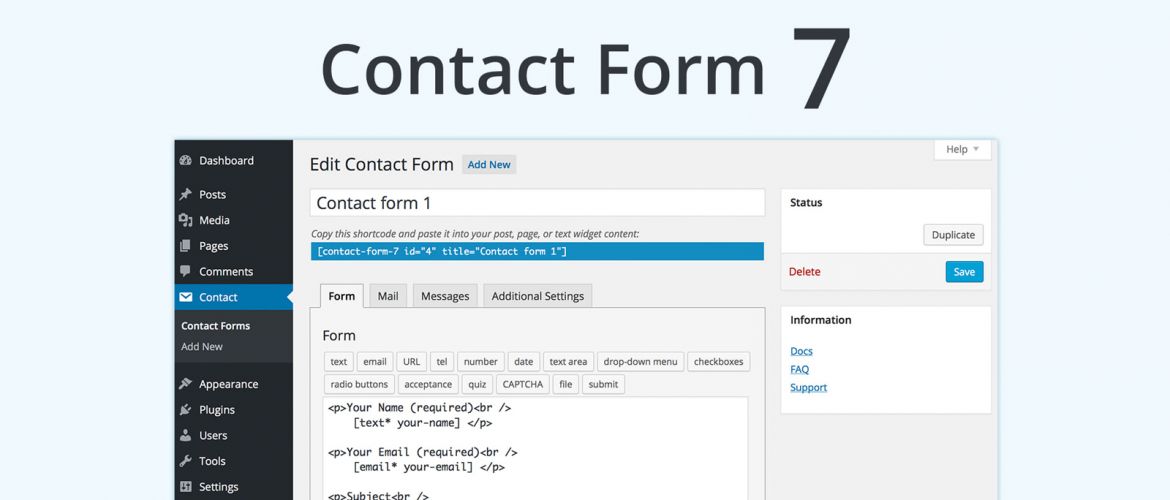
What is Contact Form 7?
Contact Form 7 is a free and open-source plugin for WordPress that allows you to create custom forms and embed them into your website. It’s a popular choice for website owners who want to collect user data, such as feedback, inquiries, registrations, and orders. Contact Form 7 is easy to use and highly customizable, with many options for fields, layouts, and styles.
Contact Form 7 works by generating HTML code for each form you create, which you can then copy and paste into any page or post on your website. When a user submits the form, the data is sent to a specified email address, which you can configure in the plugin settings. Contact Form 7 also supports several third-party integrations, such as Mailchimp, PayPal, and Google Sheets, allowing you to automate your workflow and save time.
Also Read, Top 10 programing languages in India
Generating Barcodes using Contact Form 7 using Plugin
Contact Form 7 is one of the most popular form builder plugins for WordPress. It is a free plugin that allows you to create customized forms for your website quickly. With Contact Form 7, you can generate barcodes by using a barcode generator plugin. Here is a step-by-step guide on how to generate barcodes with Contact Form 7:
Step 1: Install Contact Form 7
The first step is to install the Contact Form 7 plugin. You can do this by logging into your WordPress dashboard and navigating to Plugins > Add New. Search for Contact Form 7 and click Install Now. Once the plugin is installed, click Activate to activate the plugin.
Step 2: Create a Contact Form
The next step is to create a contact form that will generate the barcode. To do this, navigate to Contact > Add New in your WordPress dashboard. This will open the Contact Form 7 editor.
You can start by adding fields to your form by clicking on the appropriate buttons in the editor. For example, if you want to generate a barcode for a product, you might want to include fields for the product name, SKU, and description. You can also include fields for customer information, such as name and email address.

Step 3: Install the Barcode Generator Plugin
To generate a barcode, you will need to install a barcode generator plugin. There are several barcode generator plugins available for WordPress, but one of the most popular is the Barcode Generator for Contact Form 7 plugin. You can install this plugin by logging into your WordPress dashboard and navigating to Plugins > Add New. Search for Barcode Generator for Contact Form 7 and click Install Now. Once the plugin is installed, click Activate to activate the plugin.
Step 4: Configure the Barcode Generator
Once the plugin is activated, you will need to configure it to work with your contact form. To do this, navigate to Contact > Edit in your WordPress dashboard and click on the form that you want to add the barcode generator to. This will open the Contact Form 7 editor.
In the editor, you will need to add a shortcode for the barcode generator. You can do this by adding the following shortcode to the appropriate field in your form:
[barcode]
This shortcode will generate a barcode based on the information entered in the form. You can customize the barcode by adding additional parameters to the shortcode. For example, you can specify the barcode type, size, and orientation. Here is an example of a customized shortcode:
[barcode type="code128" size="80" orientation="horizontal"]
Step 5: Test the Barcode Generator
Once you have configured the barcode generator, you should test it to make sure it is working correctly. To do this, submit a test form and check that the barcode is generated correctly. You can use a barcode scanner app on your phone to scan the barcode and make sure it contains the correct information.
Step 6: Use the Barcode
Now that you have generated a barcode, you can use it for a variety of purposes. For example, if you are tracking inventory, you can print out the barcode and attach it to the product. When the product is scanned, the information will be recorded in your inventory management system. If you are tracking customer information, you can use the barcode to quickly and easily access their information in your database.
Conclusion
In conclusion, generating barcodes using Contact Form 7 is a simple and effective way to manage inventory, track products, and streamline operations. With the help of a barcode generator plugin, you can easily create custom forms that generate barcodes based on the information entered by the user. By using barcodes, you can reduce errors and increase productivity, making your business more efficient and effective. So if you’re looking for a way to improve your inventory management or customer tracking, consider using Contact Form 7 and a barcode generator plugin to simplify your operations.
Generate QR Code using contact form 7 without external Plugin
Let’s assume you need a QR code to create some kind of show tickets, exhibition tickets or some kind of redirect using QR code. So let me help you in this. As above i already show you one method to create or generate QR code. now let get idea of other method.
You need a basic knowledge of Contact form 7 DOM events/methods and how you use them.
What is contact Form 7 DOM events
Contact Form 7 is a popular WordPress plugin that allows website owners to create customizable forms for their visitors to submit data. The plugin is widely used for a variety of purposes, from contact forms to registration forms, surveys, and more. In addition to its core functionality, Contact Form 7 also provides a range of advanced features, including support for DOM events.
DOM (Document Object Model) events are JavaScript events that are triggered when a certain action occurs on a webpage. These actions can include clicking on a button, submitting a form, or entering text into a field. By using DOM events, you can add additional functionality to your Contact Form 7 forms and customize the behavior of your forms based on user actions.
Contact Form 7 provides a range of DOM events that you can use to customize your forms. These events include:
- wpcf7submit: This event is triggered when a user submits a form. You can use this event to perform actions after the form is submitted, such as displaying a message or redirecting the user to a different page.
- wpcf7invalid: This event is triggered when a user submits a form with invalid data. You can use this event to display error messages or highlight fields with invalid data.
- wpcf7mailsent: This event is triggered after a form is submitted and the email has been sent. You can use this event to perform actions after the email has been sent, such as displaying a confirmation message.
- wpcf7mailfailed: This event is triggered if there is an error sending the email. You can use this event to display an error message or take other actions.
- wpcf7reset: This event is triggered when a form is reset. You can use this event to perform actions when a user resets a form, such as clearing form data or resetting a form counter.
![]()